
The other day I was working with Jesse Muench of Get Handles Basketball to learn 5 basketball drills for better ball handling.
These drills are perfect for someone like myself who’s maybe good with one hand, and can already move athletically, but wants to elevate their in-game skills to the next level.
These five drills are the fundamentals for better ball handling.
They each combine both hand and footwork so you’re learning to move with the ball and get quicker hands on the court.
Basic Ball Handling
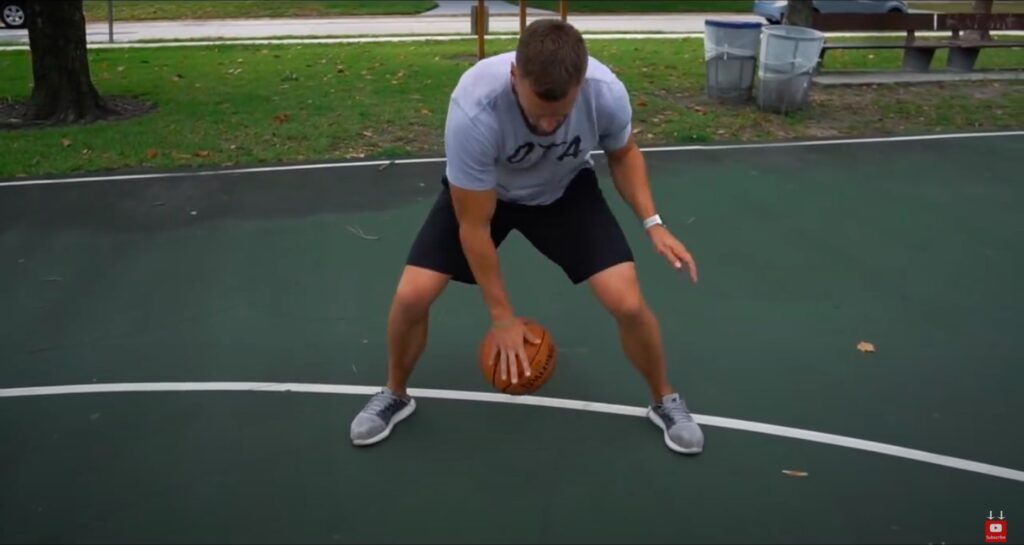
1. Cross-Over Drill
One of the biggest keys here is to start in a wide, athletic position so you can always keep control over the ball.
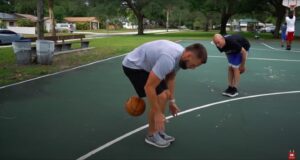
One drill we can use to work on this high stance and low hands is the “killer cross over drill”
- You’ll start with the feet nice and wide, almost twice as wide as your shoulders and bring the butt down low
- You’re going to alternate crossing the ball in front of you between your hands from one side to the other.
- Taking turns, you’ll touch the ground with the opposite hand then the one holding the ball.
- Begin with 2 minutes
This is an excellent movement to warm-up with as it keeps you low to get the legs engaged, and teaches you coordination moving the ball from one side to the other.
Footwork
Foot work is one of the most important elements in having good ball handling skills. You might be able to dribble and do lots of tricks with just the hands, but if the feet can’t move simultaneously, you’ll be dragging trying to race guys down the court.
If you can handle the ball, but can’t outrun your defender, start implementing these drills into your warmups routinely.
2. Scissors

- Here you’ll start standing. Next begin jumping with one foot in front and switching to the other. With each jump switch, you’ll pass the ball through the legs from one hand to the other.
- The goal on this drill is to keep the ball high and in contact with your hands as much as possible.
For beginners, you can start with just a jump switch on the feet and work on taking turns dribbling the ball on both sides.
The goal of these next two drills specifically is to activate the nervous system so everything is firing quickly. Once you’ve mastered the technique, it’s important to practice drills at full speed so you can perform them during a game setting.
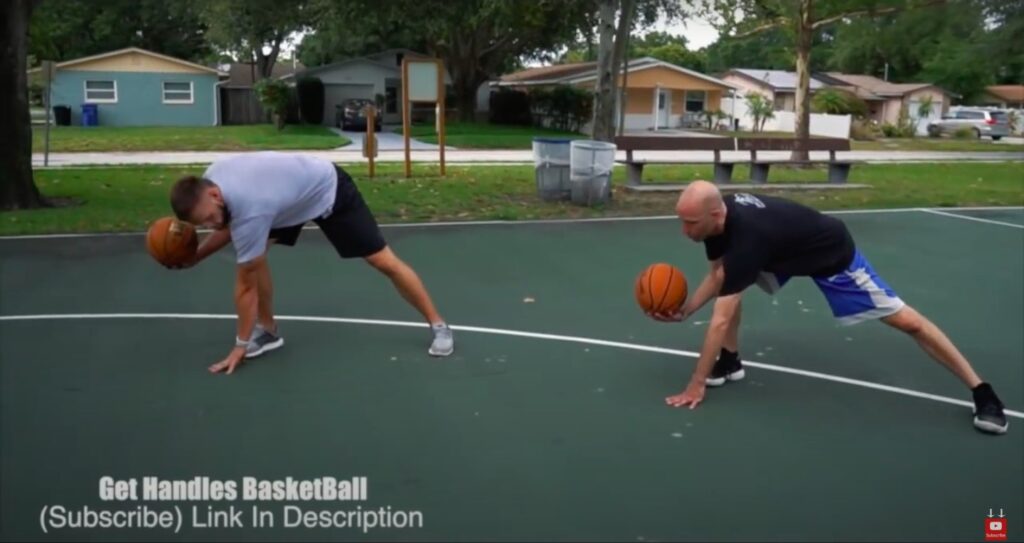
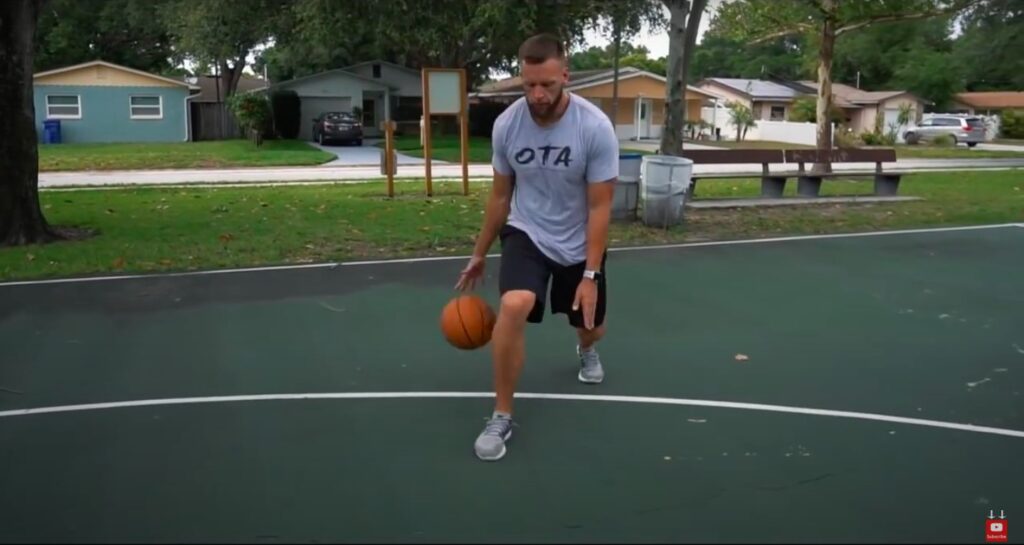
3. Spider
- Begin in a wide, athletic stance.
- Between the legs, you’re going to dribble the ball from front to back alternating between using both hands.
This is another drill that keeps you low to the ground engaging the lower body. The goal is keeping the ball close to you with good hand control.
4. Behind the Knee Clap
This a drill from the NBA Legend, Pistol Pete.
It’s a challenge trying to coordinate moving the hands quickly enough, while staying low enough for good ball control.
- You’re going to start by holding the ball behind your knees.
- You’ll drop the ball, letting it bounce on the ground.
- Clap your hands in front of the knees, then catch the ball behind you.
Once you get really good at this one, you can try catching the ball before it even hits the ground.
Complete 3 sets of 5 reps taking plenty of rest between sets.
Game Specific Skills
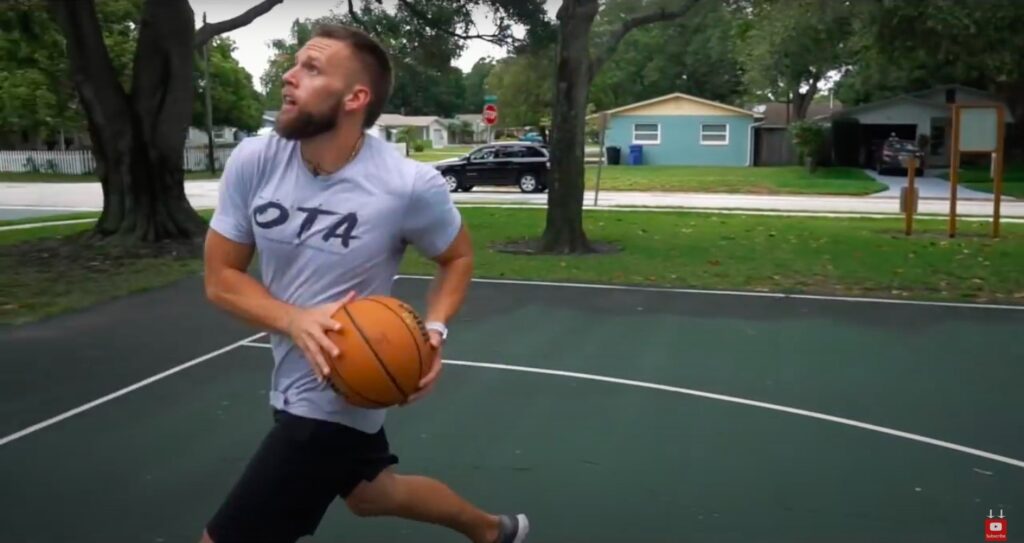
5. Bring it To The Hole
Here it’s best to think about one big family tree of drills with the drills that can stem on. Once you can master one drill, begin adding on newer and more complex ones to keep your skills improving.
You’ll see a lot of pro guys who consistently practice and then build upon this drill. You can introduce “bring it to the hole” to a game setting in a ton of different ways whether it be faking out a defender, attacking the basket for a layup or going into a jump shot.
- Begin standing and dribbling the ball at your side.
- You’ll take a step forward and simultaneously cross the ball under your front leg to the opposite hand.
- It doesn’t matter which side you start from but complete about 10 on each side
A simple way to elevate this drill for starters, is to add a crossover once you’ve taken the ball through the legs. You could even go between the legs and then cross the ball behind your back to begin elevating your sense of surroundings.
Come up with about five different variations of this one and complete about 10 repetitions each.
Another great way to increase your basketball athleticism is with this 10 Minute Plyometric Workout for Basketball.
MORE BASKETBALL PLYOMETRICS AND WORKOUTS
You know you need more than just 5 basketball drills for better ball handling to become a better player.
In fact, you need an ENTIRE PROGRESSION to really reach elite levels of basketball athleticism.
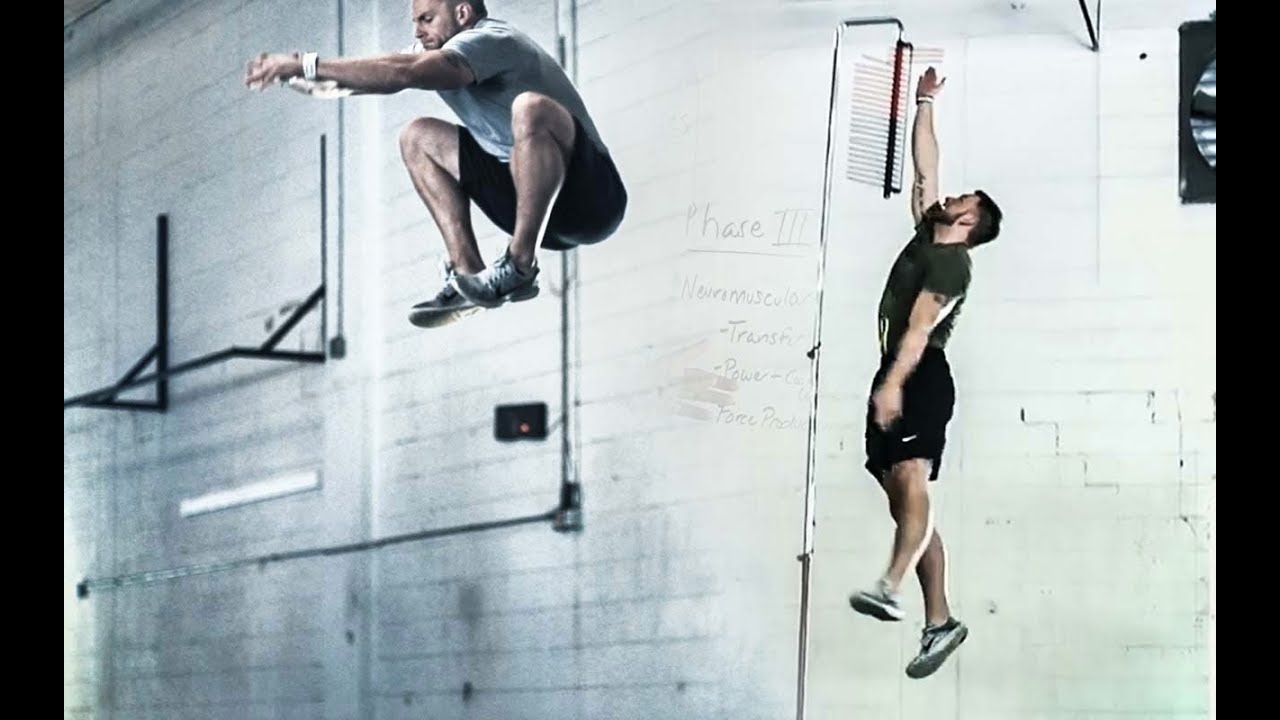
To learn how to craft your own approach to plyometric training, and improved basketball performance, you can join my FREE Advanced Vertical Jump Series.
Inside, you’ll learn how to turn high levels of strength into a higher vertical…
What to train before you start jumping…
How to progress your plyometric training…
And a whole bunch more.