11 Tips to Jump Higher (In 30 Days or Less)
A few years ago, I set out with a goal to jump higher. It was an audacious goal. A goal of a 42 inch standing vertical jump. This is something only the most elite of the elite can even dream of hitting. And it took me MONTHS of trial and error and six months of actually knowing what I was doing to not only reach my goal…
But, beat it.
After six months of ACTUALLY knowing what I was doing in my vertical jump training, I hit a 44 inch standing vertical jump.
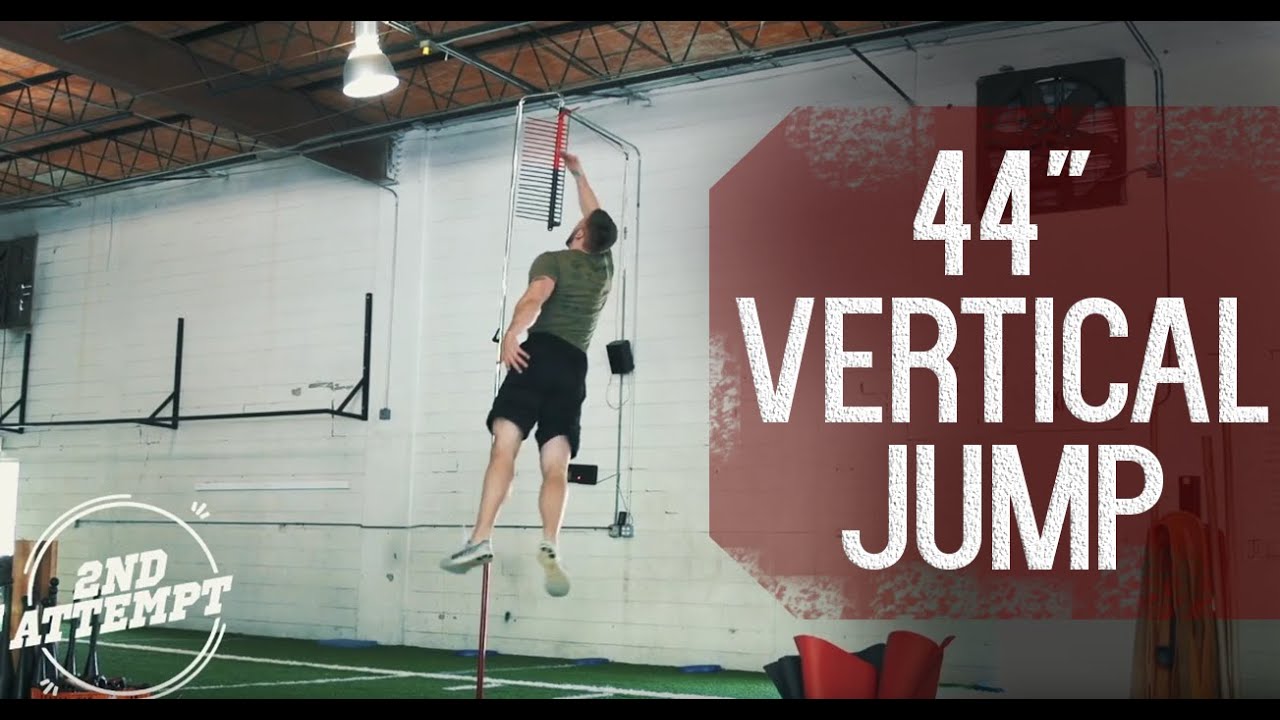
The short answer to how I achieved a 44-inch standing vertical jump?
- A Progression of Plyometrics
- Strength Training Strategies that Transferred Strength into Power
- Mobility and Stretches that Released Muscles that Restricted My Jump
- Core Stability Training to Allow for Seamless Transfer of Power
And much more. All of which I’ll dive deeper into in the tips I lay out below.
Whether you want to dunk, soar over your opponents, or even want to sprint faster (yes, really) these tips will support you.
Let’s get into it:
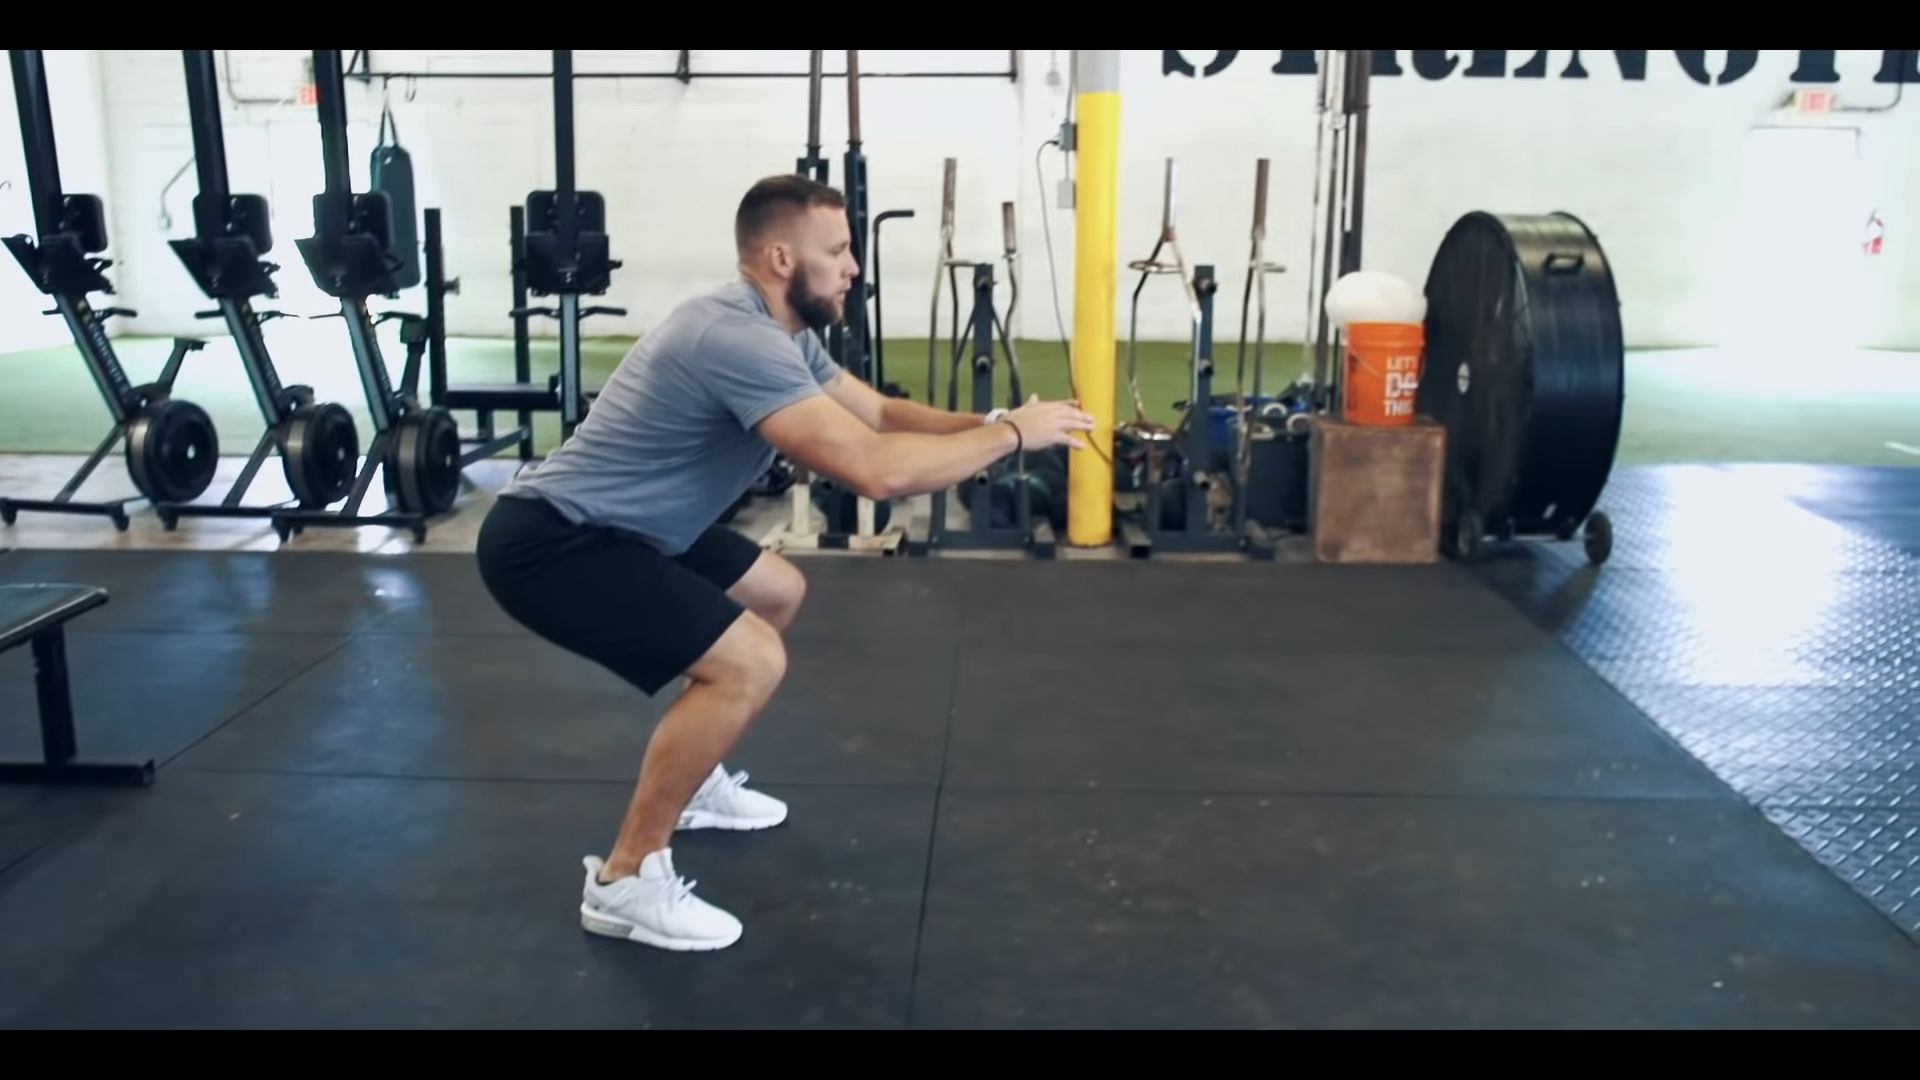
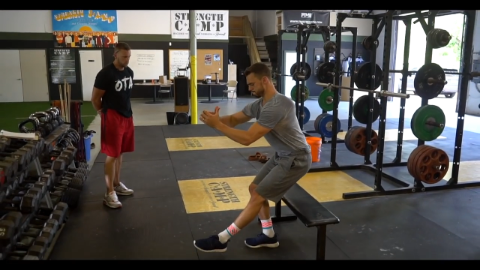
1. Jump Correctly
This jumping tip may seem rudimentary, but you’d be surprised by how many athletes don’t jump correctly. Some have knee valgus. Others descend too low into their jump. Some don’t use their arms properly to generate momentum. Others stand with their feet to wide.
In other words, these athletes are limiting their bounce with their faulty jumping patterns.
Faulty jumping patterns are bad news, because not only are you jumping improperly in games, but also in your training. Think of how many plyometrics you do in pursuit of a higher vertical jump. If you’re doing them improperly, your vertical jump won’t budge.
Here’s how to jump properly:
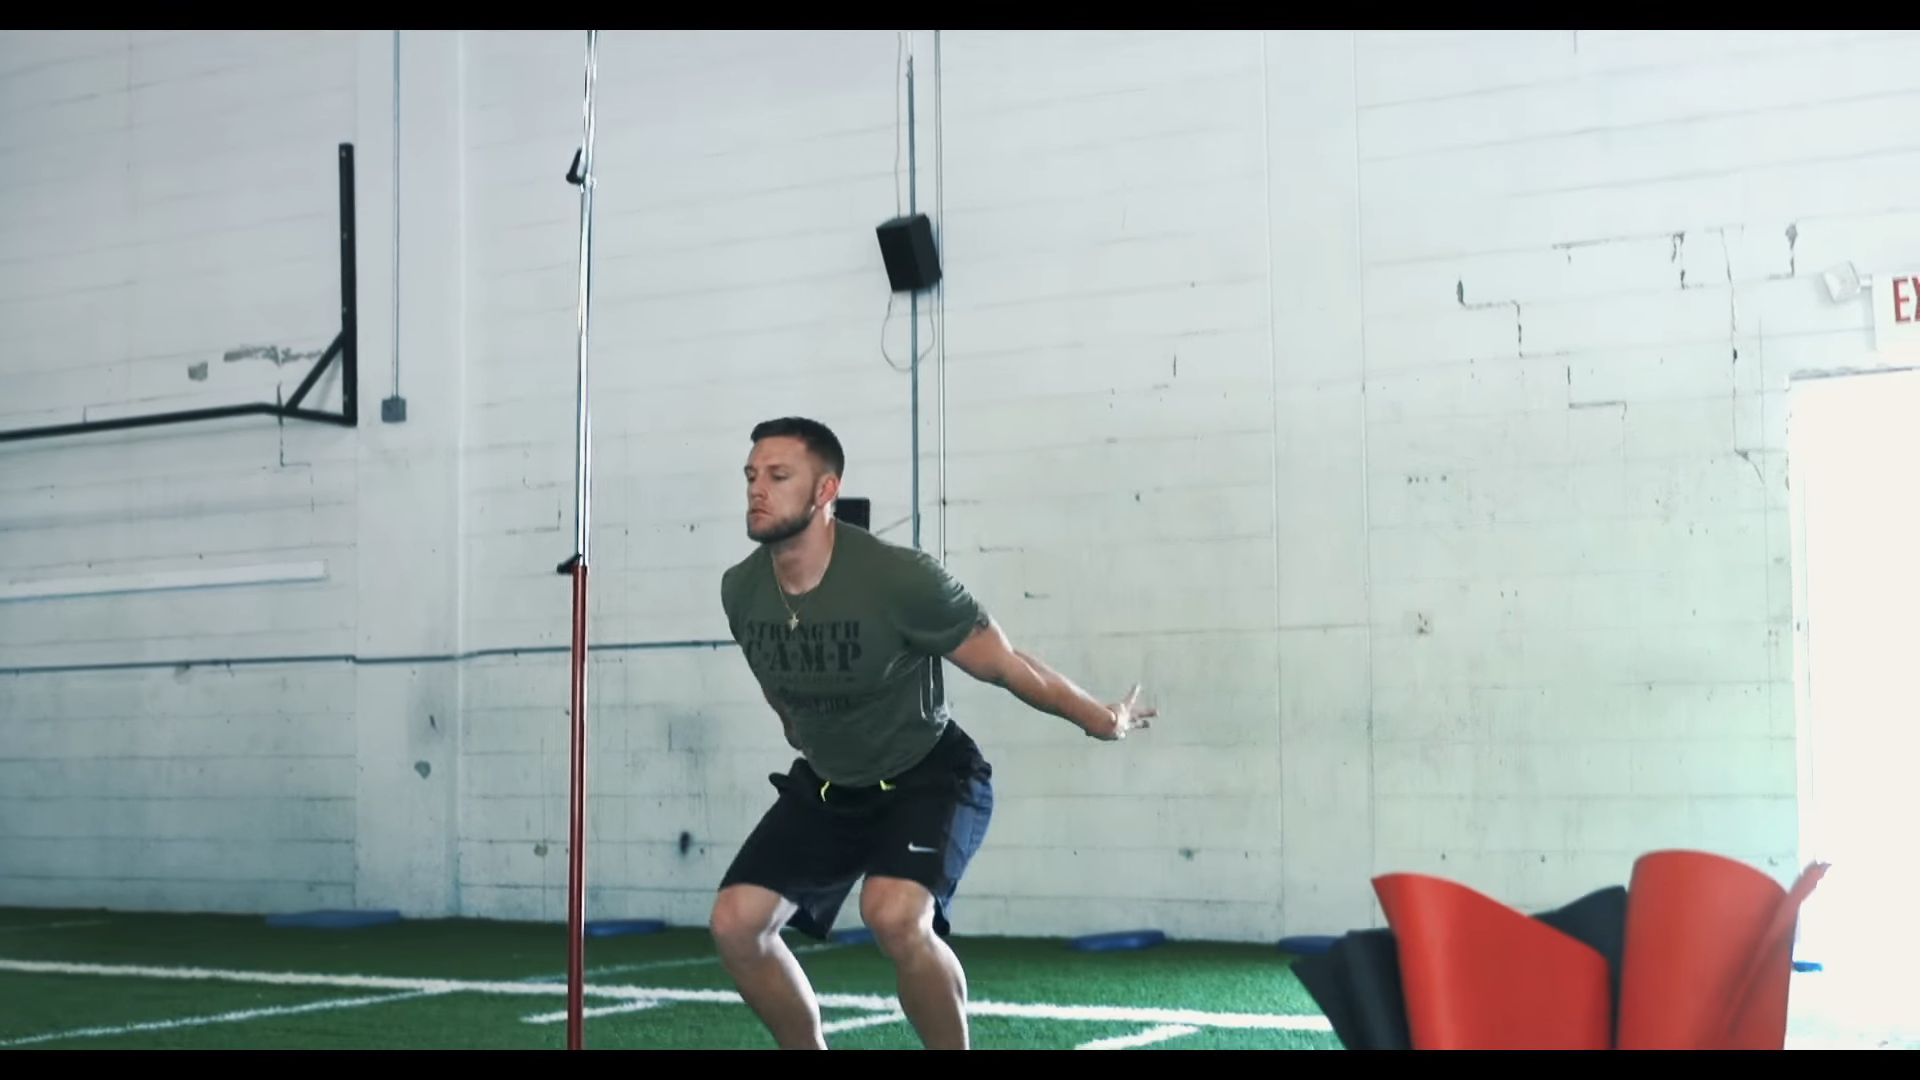
Step 1: Stand with your feet hip width apart. You can find this width by placing your pinkies on your hip bones and pointing straight down towards the ground.
Step 2: Descend rapidly to a quarter squat position by bending the knees and pushing the hips back slightly. If you just bend at the knees, you’ll lose out on power from your glutes. If you use all hip, you’ll lose out on power from your knees.
Step 3: As you descend, swing your arms behind your hips. This will help you generate momentum on the way up.
Step 4: When you reach the bottom rapidly extend the ankles, knees, and hips and propel off the ground. Extension of the ankles, knees, and hips is known as triple extension.
Step 5: As you reach triple extension, swing the arms up to generate momentum.
Step 6: Land Softly
Jumping this way eliminates many of the vertical jump mechanical mistakes. Some common vertical jump mistakes include:
- Knee Valgus or the knees collapsing in at the bottom position of the jump
- Descending too low into the jump. This creates more range of motion the athlete has to generate power through.
- Having the feet to wide or narrow. When the joints are stacked (ankles, knees, and hips) you will generate more power
2. Know Your Vertical
I always say, you can’t manage what you don’t measure. In other words, you can’t adjust your training to jump higher if you don’t already know how high you jump. Luckily, I’m going to share a few ways to measure your vertical jump.
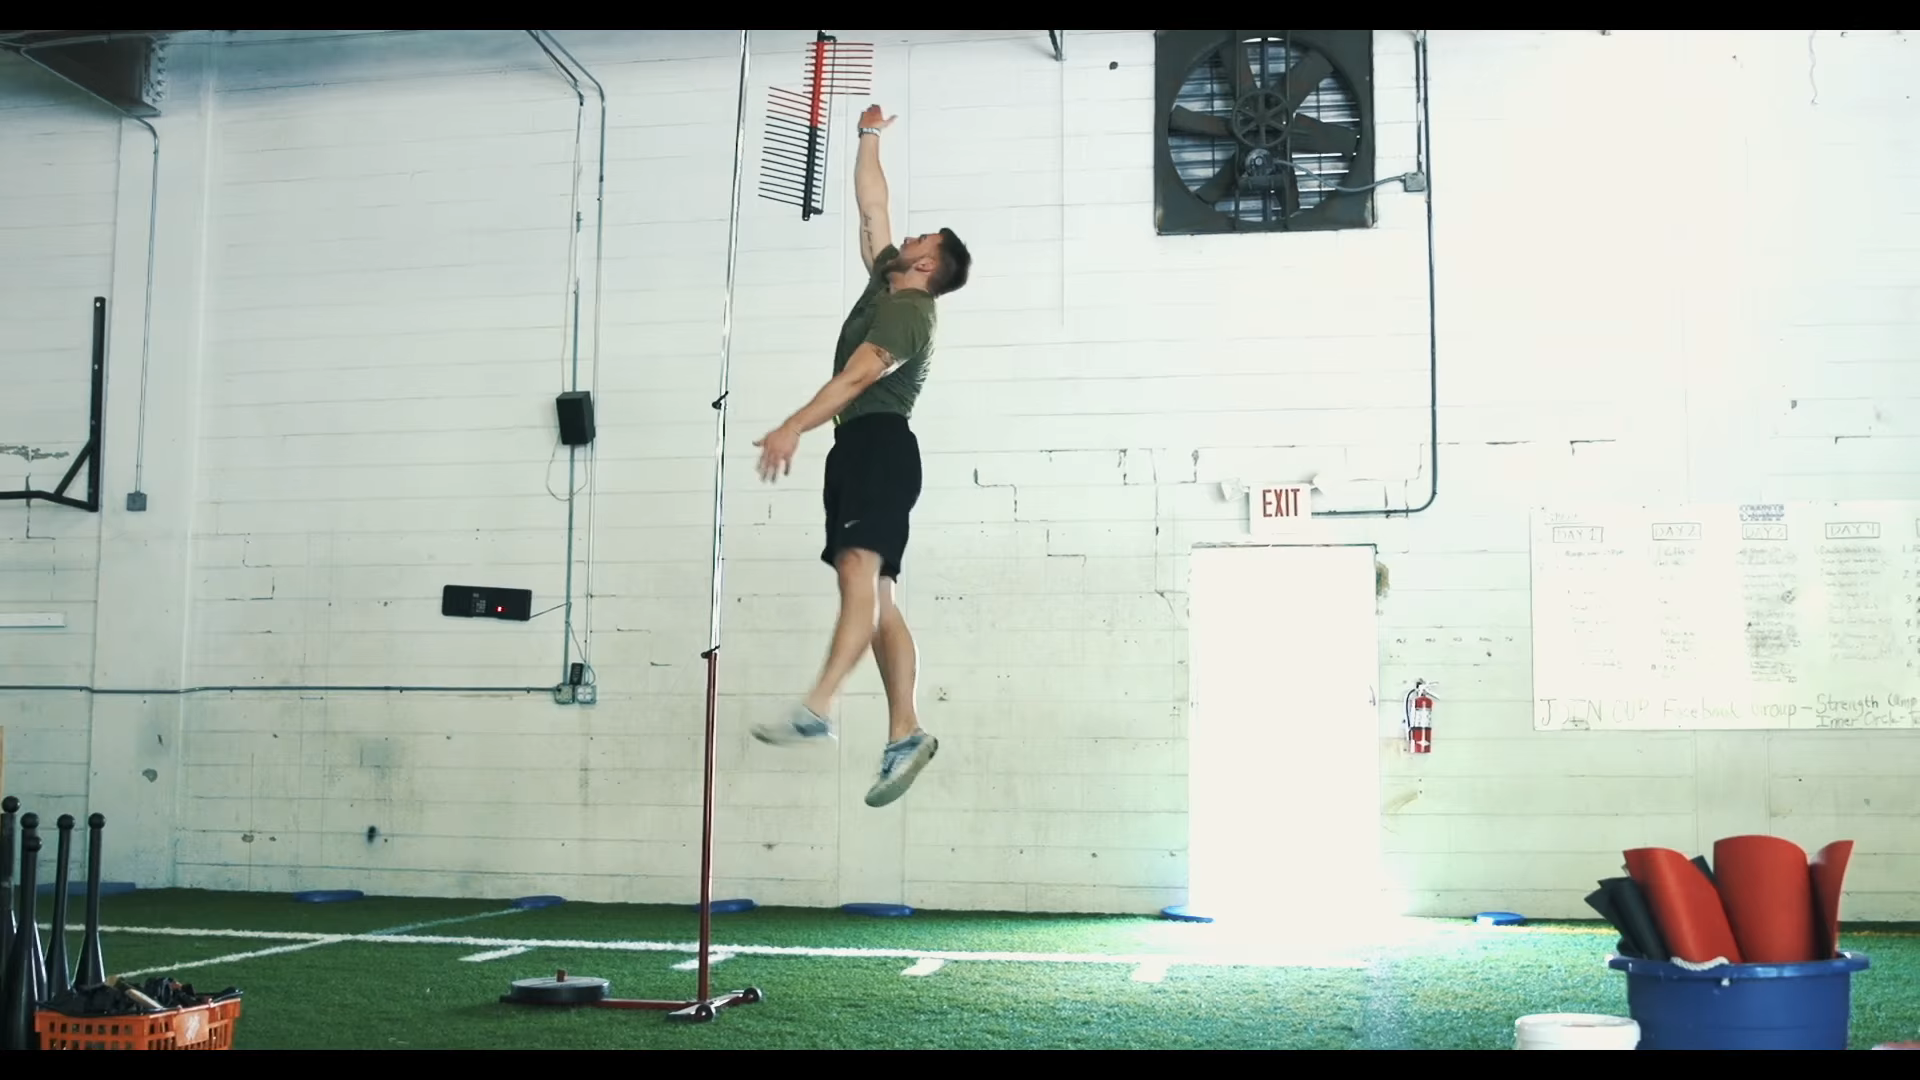
The best way to measure your vertical jump is with a Vertec. The Vertec is an adjustable device that has a bunch of prongs on the end that the athlete swipes at to measure their vertical jump. This is the easiest and most accurate way to measure your vertical jump, but it’s also the most expensive.
Another way to measure your vertical jump is with force plates. I’ve never used force plates myself, but they’re used in scientific research. From what I’ve heard, they’re pretty accurate, but also expensive.
The last way I’ll share to measure your vertical jump is with your wall. To use this vertical jump measurement method, you’ll need a tape measure, a stool, and something that sticks to the wall. Here’s how it works:
Step 1: Stand next to a wall with your arm up. Reach as high as you can without going onto your tiptoes.
Step 2: Mark the max height you can reach with your arm up.
Step 3: Grab whatever marker you have that sticks to the wall. You can use duct tape, a sticker, or whatever else you have lying around the house.
Step 4: Jump as high as you can and slap your marker onto the wall. You can do this multiple times and take the highest mark.
Step 5: Measure the distance between your standing, arm extended mark, and your highest jumping mark. That distance is your vertical jump.
Whichever jump measurement method you use, make sure to use that method every time so it is uniform.
3. Build Strength
An important factor in jumping higher is building strength. Strength is a precursor to power and explosiveness (critical traits to your vertical jump height). However, if you build strength like a powerlifter, it won’t carry over to your vertical jump.
You’ve seen powerlifters squat 600+ pounds. While that’s impressive, these guys can’t get more than 10 inches off the ground. This is due to a combination of their lack of relative strength, and their slow strength training.
In addition to moving heavy weights fast, you’ll also want to ensure you’re training the right muscles with the right lifts.
Here are two go-to lifts you should have in your vertical jump programming:
1. Trap Bar Deadlift
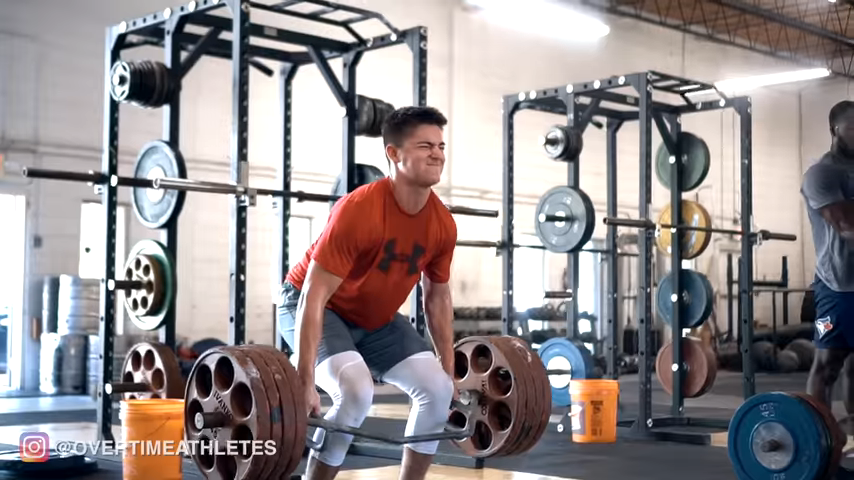
The Trap Bar Deadlift is one of the best movements for athletes. It trains the muscles of the posterior chain that include the glutes, erector spinae, hamstrings, and more. The movement also incorporates more quadriceps than a traditional deadlift.
Athletes can also move the trap bar deadlift with more velocity than a conventional deadlift. This makes the trap bar deadlift more specific to vertical jump and athleticism in general.
Here are a few tips to perform the trap bar deadlift correctly:
Tip 1: Set your feet in the middle of the trap bar. If you set your feet too far back, you’ll recruit too much knee.
Tip 2: Grab the middle of the handles. If you grab too far in one direction, the bar may tip as you’re lifting.
Tip 3: Push the floor away from you. This is a cue I like to use that gets the athlete to recruit as many muscle fibers as possible as he performs the movement.
Tip 4: Push the hips down and back from the top.
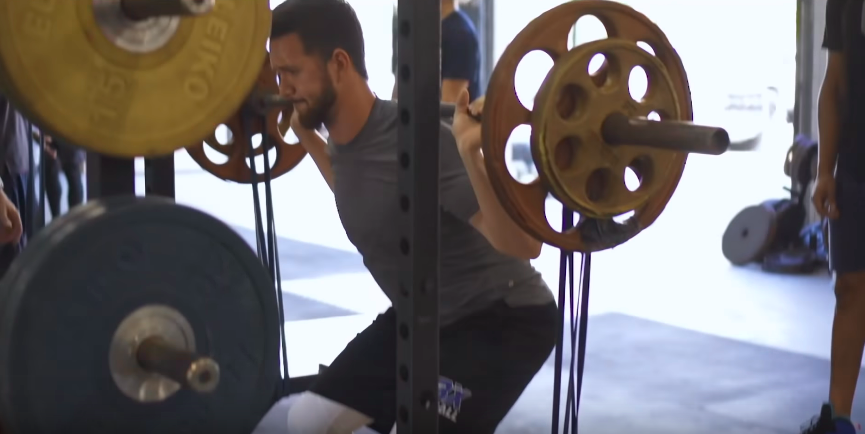
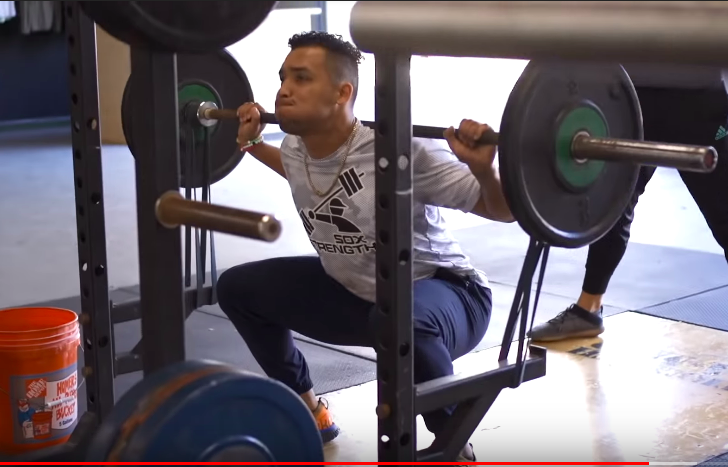
2. Back Squat
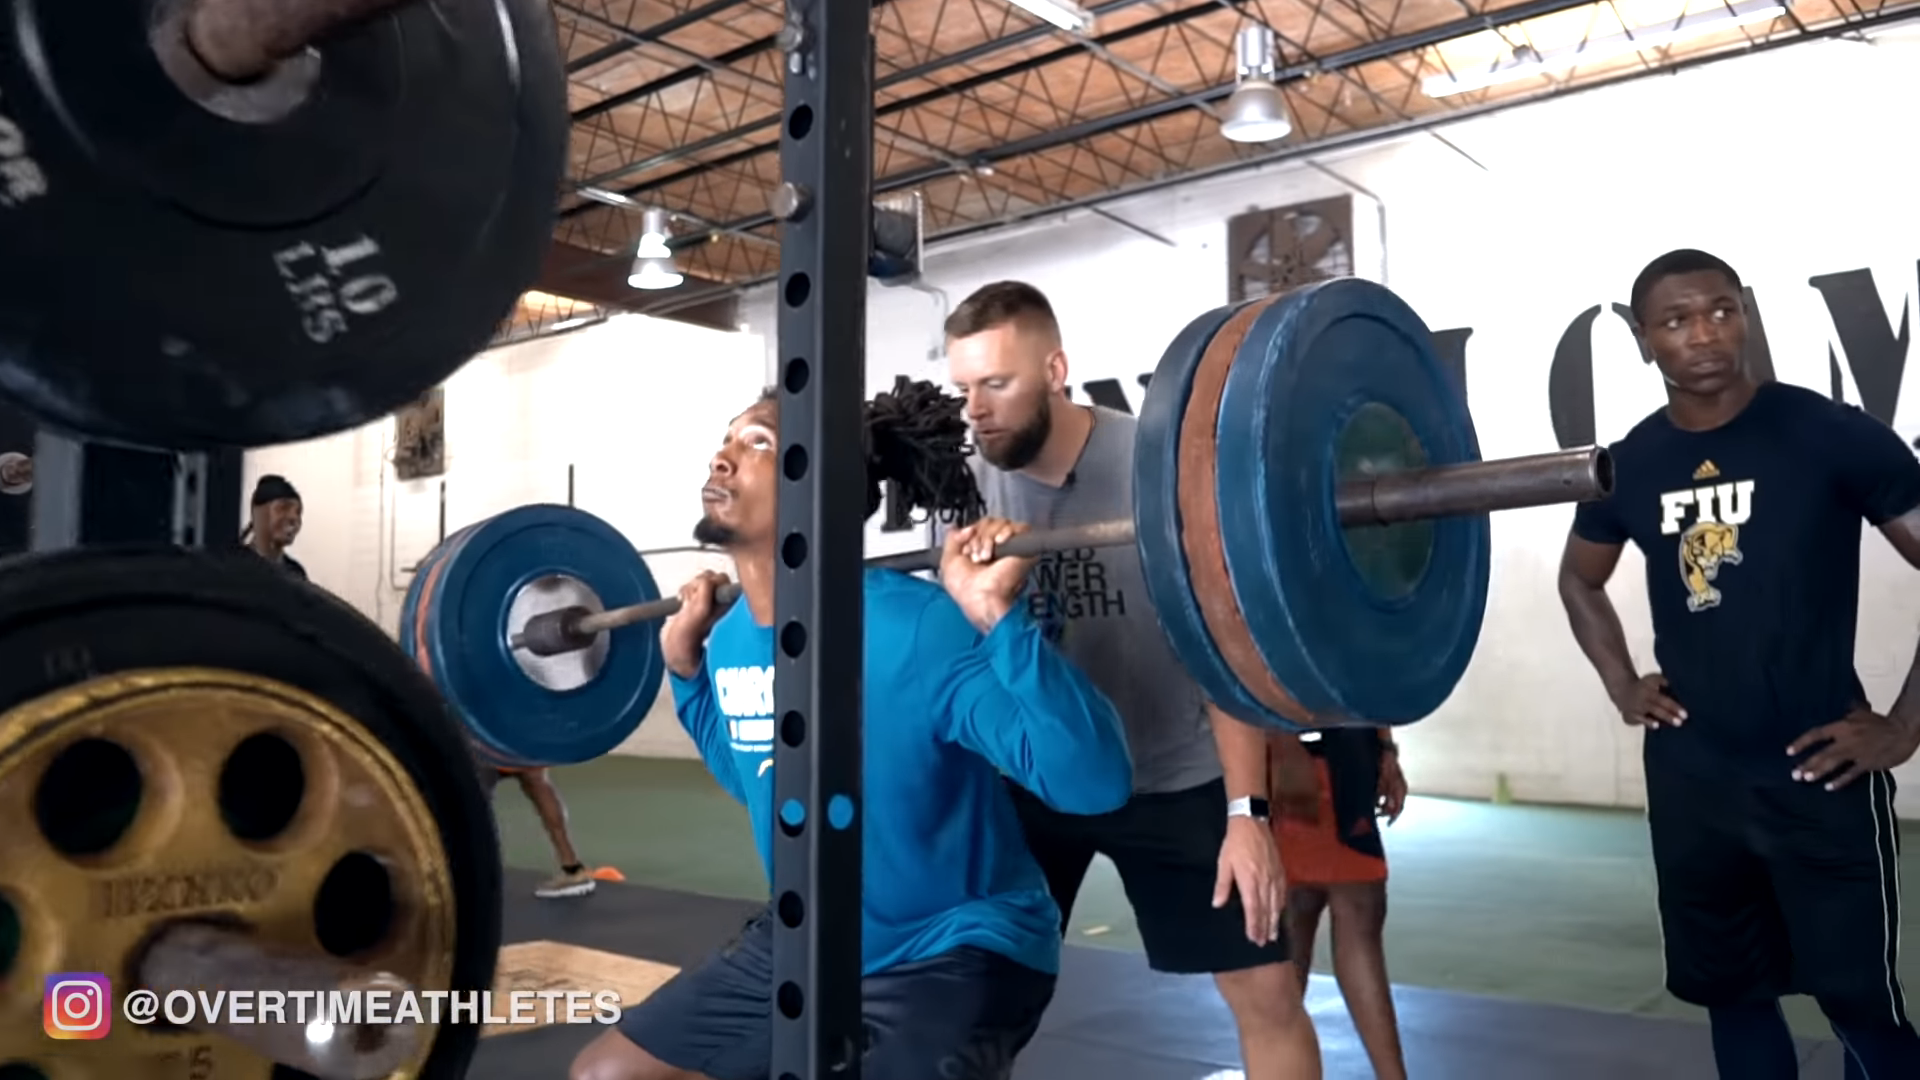
Back Squat is another great movement for vertical jump training. It’s obviously the most specific movement to the vertical jump, and can be manipulated many ways to be more specific to vertical jump training. One of the main ways I manipulate it is to decrease the range of motion.
It’s important to know that you shouldn’t do this if you don’t have a foundation of strength. However, if you’re a more advanced athlete with a goal of higher jumping, you can squat to slightly below quarter squat position for more specific strength.
Here are a few tips to maximize your back squat:
Tip 1: Start with the feet just outside of hip width. If you go wider, your back squat will be less specific to your jump training.
Tip 2: Screw the feet into the ground. This creates torque and will allow for a more explosive squat.
Tip 3: Push the hips back slightly and sink down. Keep the chest up as best you can.
4. Emphasize Your Landing
Another common error most athletes make when pursuing a higher vertical jump is their landing. Their landing is either ugly, faulty, or the athlete lacks the force absorption ability that will lead to a higher vertical. It’s a truth that the more force an athlete can absorb, the more he can produce. So, you’ll want to get your landing right if you intend to hit your jumping goals.
Here are a few landing errors I see among athletes:
- Knees collapse upon landing. This can create injury and dissipates any force absorbed.
- Hips sink down on ground contact.
- Landing heavy
All of these mistakes lead to inefficient landing.
Here’s how to land properly:
Step 1: When you make contact with the ground, you should land with your weight on the balls of your feet. Your heels shouldn’t be too high though. Only high enough to slide a sheet of paper under them
Step 2: Land with the feet hip width. This allows you to be ready for any athletic movement you have to make after landing.
Step 3: Stick the landing. When you land, your hips shouldn’t sink. They also shouldn’t rise. They should stick at about quarter squat position.
Your chances of jumping higher are going to SKYROCKET if you land like this.
5. Train for Elasticity
Elasticity is key for jumping higher. If you don’t know, elasticity is the ability of the muscle to store and rapidly release energy and force. This is key if you want to jump higher as jumping has to do with the rapid absorption and production of force.
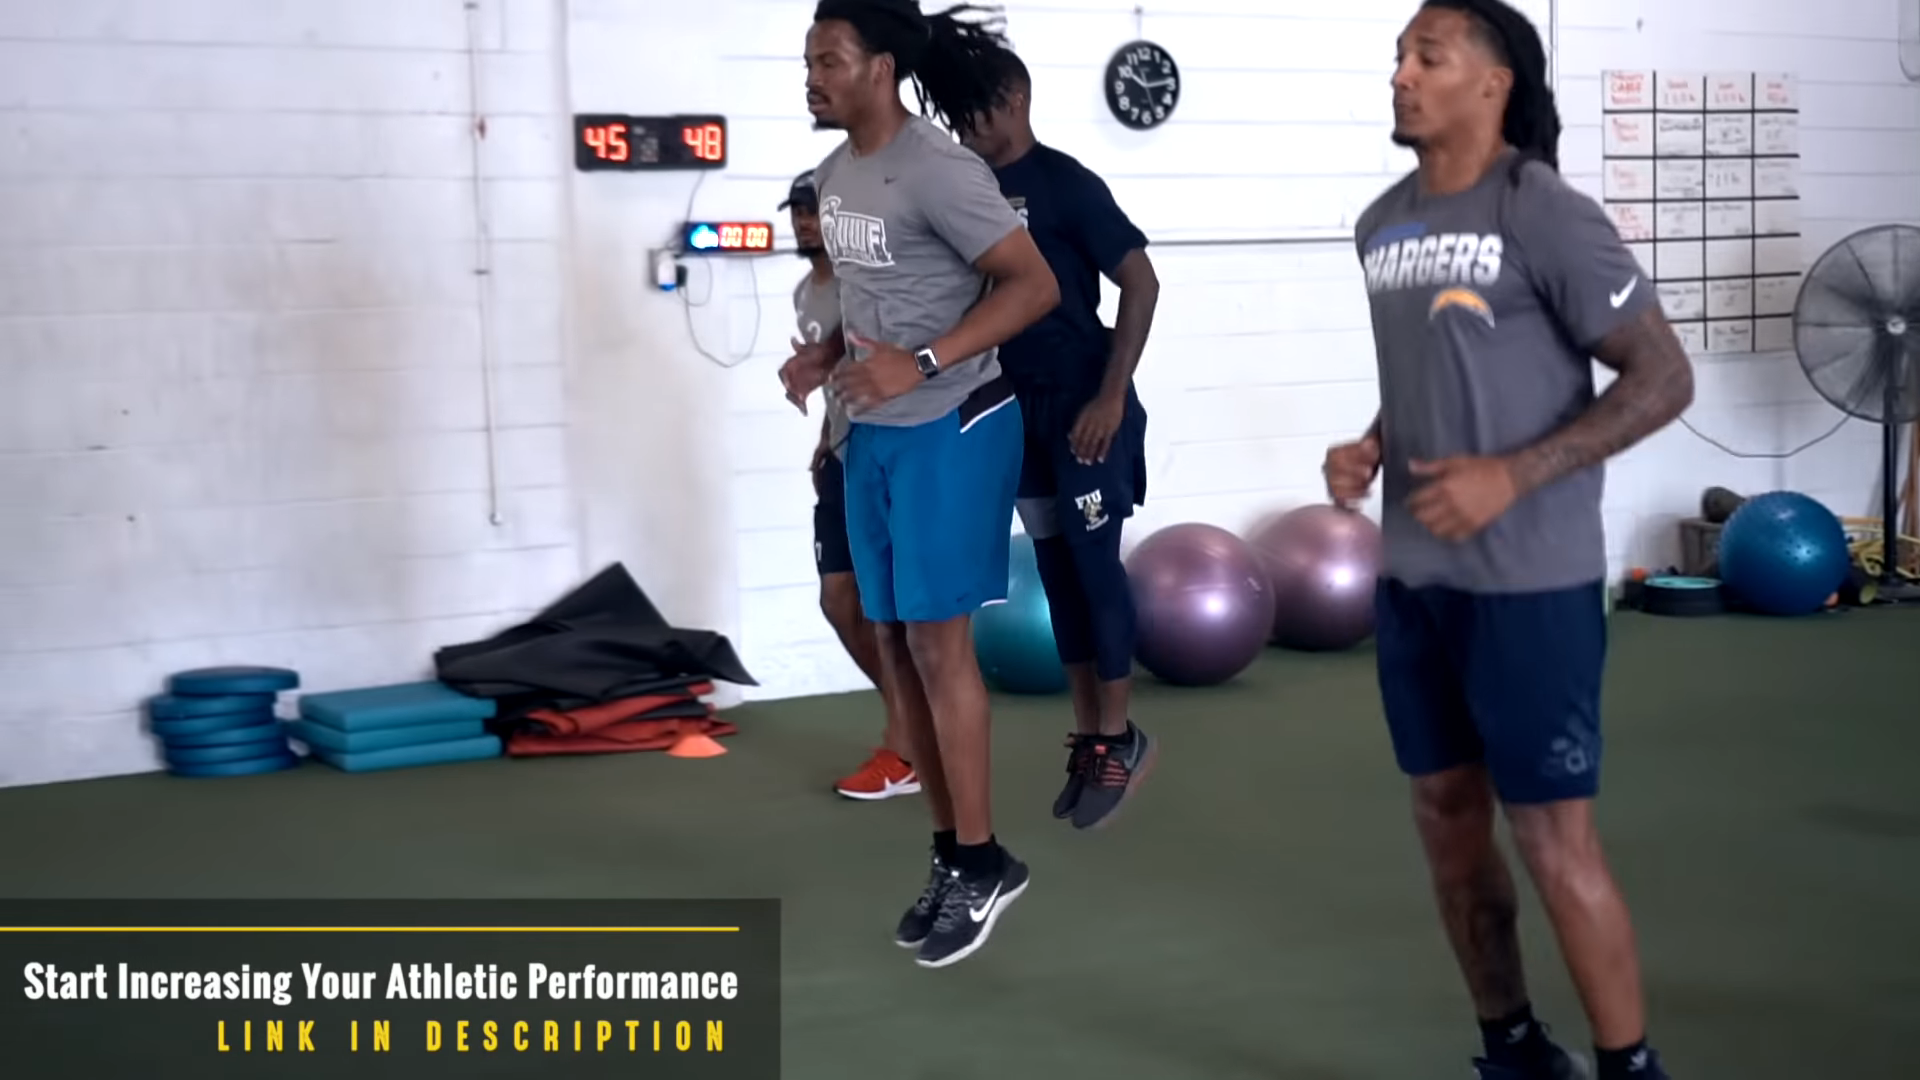
Building rigidity in specific muscles will lead to more elasticity. You can do this by emphasizing speed when you perform certain movements.
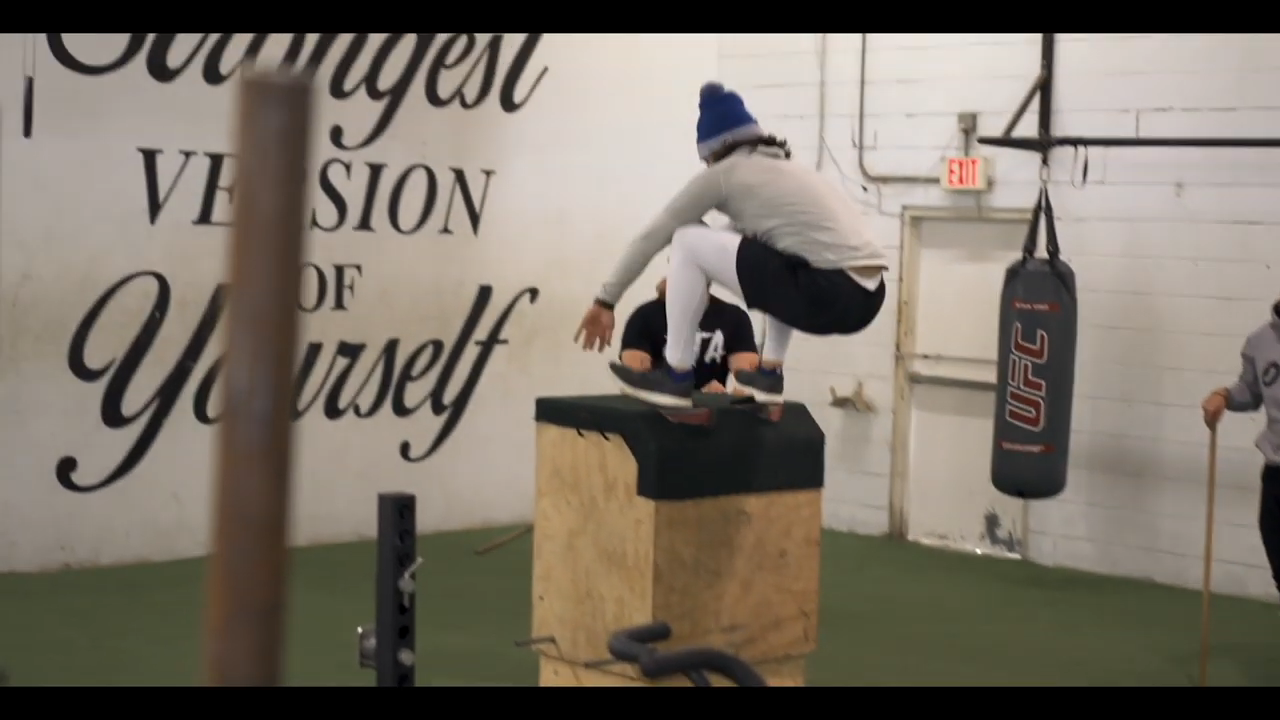
For example, one of my favorite movements to use for athletes is the pogo jump (seen above). The pogo jump targets the muscles of the ankle, and amplifies their ability to absorb and produce force. Sometimes, I emphasize the height of the pogo jumps. When I want to build rigidity and elasticity, I emphasize the speed.
This encompasses everything from ground contact time to getting as many jumps in the allotted time as possible.
You can also build elasticity with other movements such as squat jumps, tuck jumps, and lunge jumps.
6. Work the Transition Phase of Your Jump
The transition phase of your jump is the time between the lowering portion of your jump and the ascending portion of your jump. Working the transition phase allows for seamless transfer of energy from the lowering to the ascending portion of their jump. Guys who don’t work their transition phase will lose energy during this portion of their jump.
My favorite way to work the transition phase is with connected plyometrics.
Connected plyometrics are essentially jumps that are connected together. During connected plyometrics, you want to spend as little time on the ground as possible. You also want a clean landing to maintain as much energy as possible when you move through the jumps.
Here are three connected plyometrics you can use to work your transition phase and jump higher:
1. Connected Tuck Jumps
How to Perform Connected Tuck Jumps: The goal of connected tuck jumps is to spend as little time on the ground as possible while still getting as high as you can. Keep that in mind. Start with the feet hip width. Explode off the ground. Get full hip extension then tuck the knees up towards the chest.
Land in the proper position, spend as little time on the ground as possible and explode up again.
You want a total of three jumps.
2. Depth to Vertical Jump
How to Perform a Depth to Vertical Jump: Start on a bench or another raised surface. Step off the bench and perform a depth drop. Spend as little time on the ground as possible and jump off the ground.
3. Depth to Medicine Ball Vertical Toss
How to Perform a Depth To Medicine Ball Vertical Toss: Start on a bench or another raised surface with a medicine ball in hand. Step off the bench to perform a depth drop. Spend as little time on the ground as possible and use the power from your hips to toss the medicine ball as high as possible. Land softly.
7. Build a Strong and Stable Core
A lot of athletes overlook the importance of the core in their vertical jump. If you don’t already know, core stability is prime to jump higher because the core is responsible for transferring high amounts of force while jumping.
Force will leak if your core isn’t solid and stable. That will result in less inches on your vertical jump.
It’s easy to build core stability that will help your vertical jump. You can stick to the basic planks, side planks, and prone cobras to start. As you get better, you can move to more advanced core stability exercises like stir the pots, seated dead bugs, and seated twists.
8. Work on Your Balance
Balance and stability are other important aspects in a vertical jump. They’re especially important for those who want to jump higher off of one foot and dunk. This is because if you lack balance, there could be a series of power leaks in your lower extremities.
Your ankles could collapse, your knee could collapse in, your pelvis could tilt… There’s a long list of things that can go wrong in your vertical jump without balance and stability.
Here are three balance and stability exercises you can use to jump higher:
1. Cone Taps
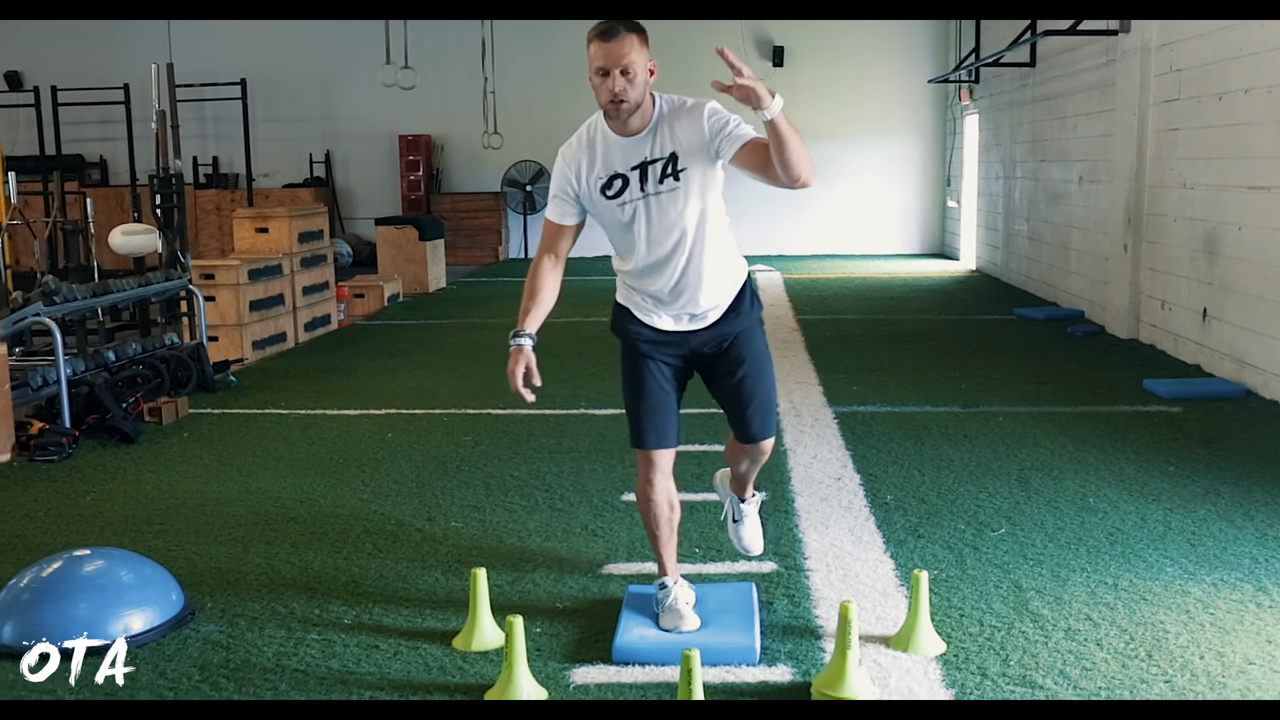
How to Perform Cone Taps: Grab a foam pad and three cones. Place the cones in a triangle shape around the foam pad. One should be in front and the other two should be on each side. Stand on the foam pad on one leg, hinge at the hips and touch one of the cones on the side. Repeat and touch each cone for the specific amount of repetitions.
2. Single Leg Toe Touch on Foam Pad
How to Perform a Single Leg Toe Touch: Grab a foam pad and stand on it on one leg. Push the hips back and bend at the knee to bring your opposite hand to your opposite foot. If you’re on your right leg, touch your foot with your left hand and vice versa. Repeat for Desired Reps
3. Pistol Squat to Box
How to Perform a Pistol Squat: This is less of a balance exercise and more of a stability exercise. In order to perform this drill, you’ll need to place a bench or some other kind of raised surface behind you. From there, you’ll push your hips back and bend the knee until you sit all the way down on the bench. Be sure to keep the knee out and sit softly on the bench, or else you expose yourself to injury. Explode up and repeat for desired reps.
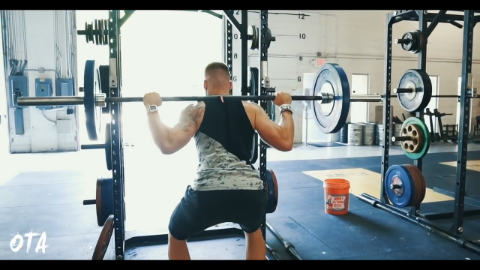
9. Use Accommodating Resistance
Accommodating resistance is one of the best weight lifting methods to develop power. It will definitely help you jump higher. I have a longer post on accommodating resistance, but I’ll share some of the details here.
When an athlete jumps, the muscles of the ankle knee and hip accelerate quickly through their full range of motion to allow the athlete to propel off the ground. However, in a back squat the athlete naturally decelerates as some portions of the squat are easier than others.
When you add accommodating resistance to certain lifts, it allows the athlete to accelerate through the full range of motion. This creates greater carryover to power.
My favorite type of accommodating resistance to use for jumping is bands. When you use bands, it makes the lift more difficult towards the lockout portion without making the bottom portion more difficult. This allows you to explode out of the hole in a squat, and accelerate quickly from the bottom of a trap bar deadlift.
Here are some parameters for Accommodating Resistance to Jump Higher:
- Keep the weight between 40-70% of your one rep max
- Perform anywhere from 1-5 repetitions
- The lower the reps, the higher the amount of sets
10. Use Tempos to Jump Higher
You might know I’m a HUGE fan of using tempos to jump higher, run faster, and become all around more powerful. Reason is, when you perform tempo training correctly, you can manipulate neuromuscular mechanisms to jump higher.
Let me explain:
Every movement you perform has three phases or portions: Eccentric, isometric, and concentric. If we use a squat as an example, the eccentric phase is the lower portion. The isometric phase is the time spent at the bottom of the squat between the lowering and ascension. The concentric phase is the up portion.
Emphasizing each portion comes with their own set of benefits that will help you jump higher. Here’s a quick breakdown of how using tempos can help you jump higher:
Eccentric Phase:
One of the main benefits of eccentric focused training is that it helps you bypass Golgi Tendon Organ inhibition. GTO inhibition is the body’s built in mechanism that LIMITS the force of certain muscle contractions.
This is a safety response, but it is overactive. GTO Inhibition kicks in at 60% of what the muscles can handle. In other words, every time you perform an all out jump, your body actually has more in the tank. When you perform slow, eccentric training, you can bypass GTO inhibition and increase the force of your muscle contractions.
Isometric Phase:
The main benefit of isometric focused training is increased motor unit recruitment. Motor units are components of muscle fibers that coordinate muscle contractions. The more motor units you have, the faster and more powerful a muscle contraction will be. This has obvious benefits in regards to jumping higher and sprinting faster.
When you perform isometric tempo training, you exhaust the initial motor units that are recruited for a certain movement. When the initial motor units are exhausted, the body recruits larger, fast twitch motor units. As you perform more and more isometric training, the body will recruit these fast twitch motor units sooner, leading to more power and an increased vertical jump.
Concentric Phase:
The main benefit of the concentric phase is increased rate of force development. This is how fast you can develop force. Obviously this will have HUGE carryover to your jump as the more force you can produce quickly the higher you’ll jump.
In your pursuit of a higher jump, you’ve probably trained the concentric phase a lot, and ignored the other two. However, there are a few advanced training strategies I like to use when I’m in the concentric block and training for a higher vertical jump.
Here are a few training methods I like to use in the concentric phase for a higher vertical jump:
- Contrast Training (see this post)
- Accommodating Resistance (See Above)
- Use Lighter Weights (Not a “training method”, but it will help your vertical jump training immensely if you only use up to 70% of your 1RM when weight training)
11. Train the Lower Limb
I’m not talking about calf raises here. Training the lower limb, specifically the ankle and foot, is the most forgotten about, overlooked, and misunderstood aspect of training. If you incorporate it into your vertical jump training, you will see your vertical skyrocket.
Here’s why:
- Many imbalances are rooted in the lower limb. These imbalances start in the foot and ankle, then work their way up to the knee and hip. The imbalances then create inefficient movements that cause the athlete to leak force when they go to jump. This results in them losing inches on their vertical jump.
- When you train the lower limb properly, most imbalances seem to work themselves out. This gives the athlete a more stable foundation to jump from.
- The foot is the first point of contact with the ground. It’s makes sense to maximize the energy capacity and elasticity of the foot to maximize force production (and vertical jump height).
Here’s what you can do TODAY to train your lower limb for a higher vertical:
1. Increase the Range of Motion of The Ankle
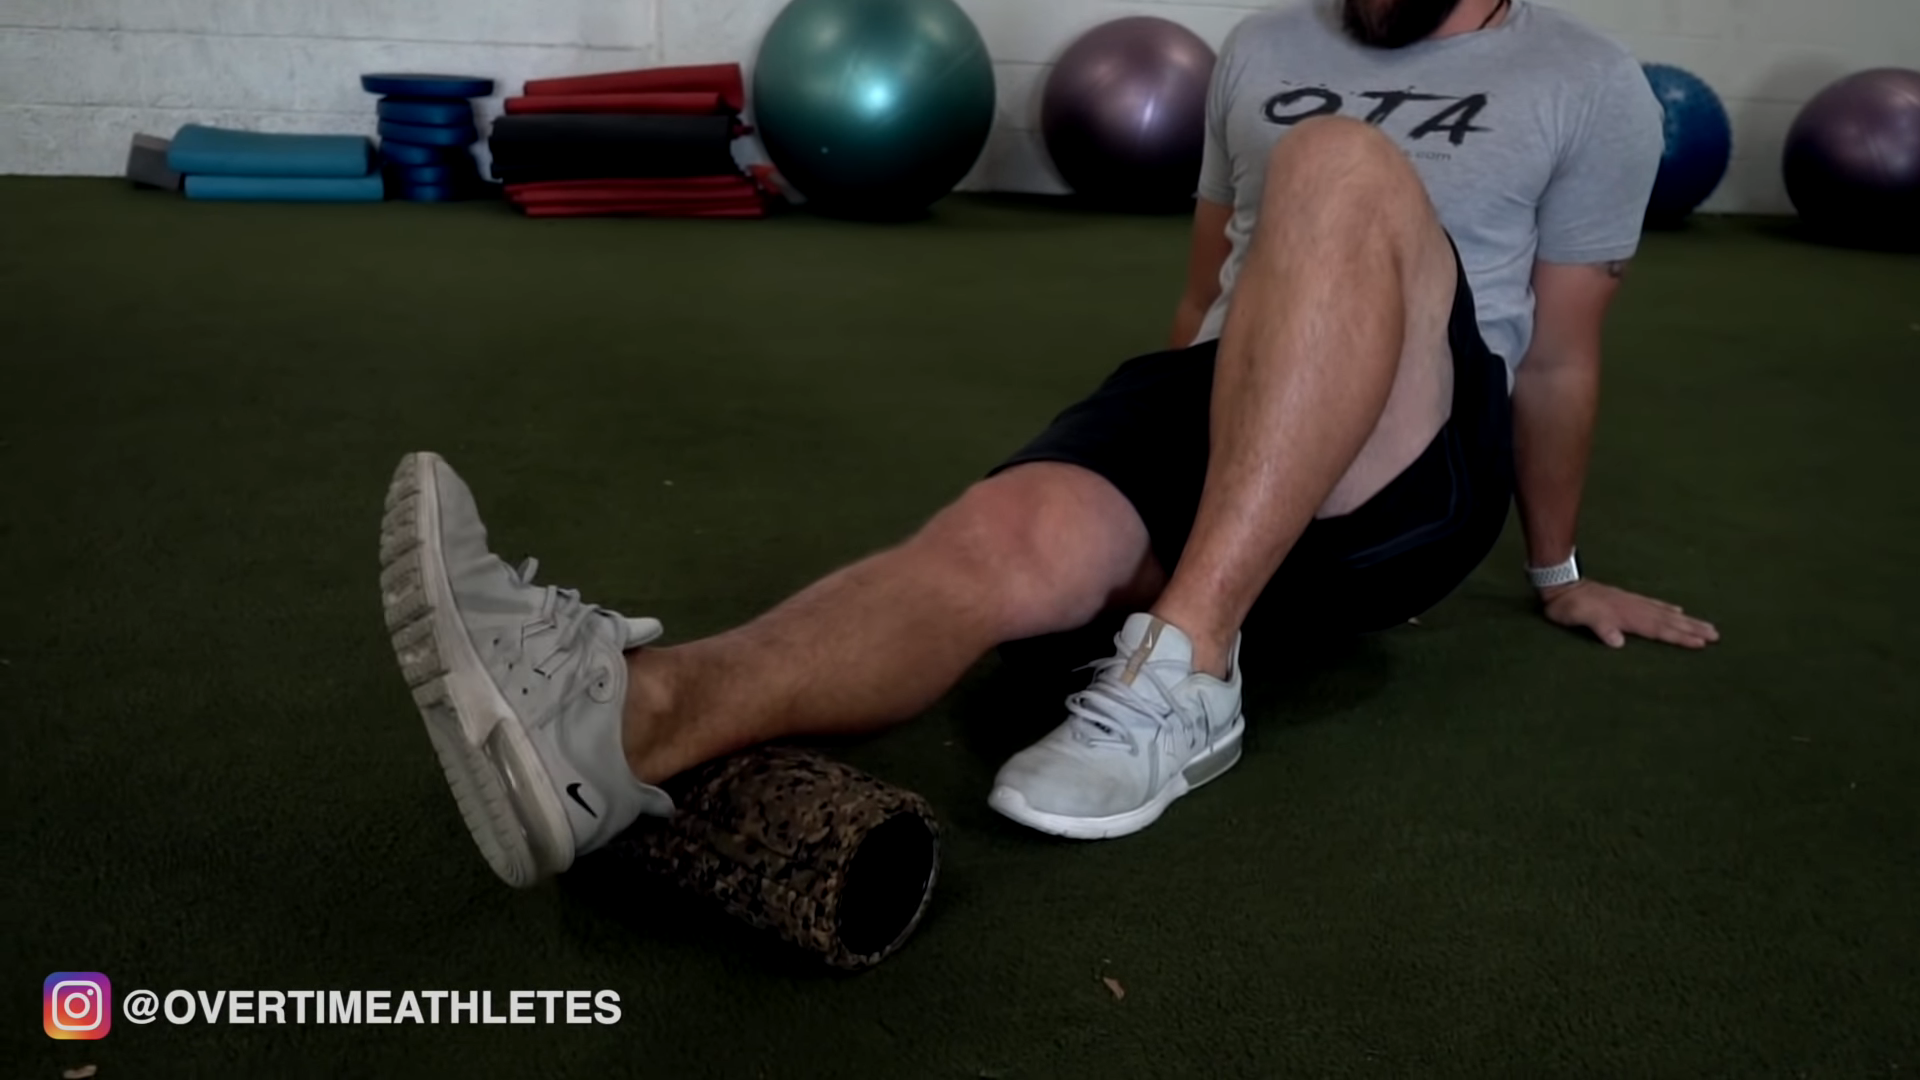
Simple ankle circles will mobilize the ankles and work to increase the range of motion that has been restricted by imbalance. You can perform these every day (pictured above). Just be sure not to move the knee while you perform them.
2. Work Both Dorsiflexion AND Plantar flexion
My athletes perform a dorsiflexion/plantar flexion series before every single workout. This helps speed, vertical jump, and other aspects of athleticism. You can learn more about it by reading this blog post on the lower limb.
3. Perform Lower Limb Focused Plyometrics
I added a bunch of ankle-focused plyometrics to my training arsenal when I realized how important training the lower limb is. One of my go-to’s is a pogo jump (pictured above). This movement is where most athletes should begin. As they get more advanced in their vertical jump training, they should move on to more advanced variations such as forward pogo jumps and single leg pogo jumps.
Your Next Step to Increase Your Vertical Jump
Long story short, I shot for a 42 inch standing vertical jump and hit 44 inches. It was incredible. Like getting an extra chicken sandwich from Chick-Fil-A.

But, that story doesn’t do you much good unless you know how I achieved the 44 inch standing vertical jump, right?
Right. That’s why I revealed the training methods that helped me achieve a 44 inch vertical jump in my FREE Advanced Vertical Series.
It’s a series of videos that reveal:
- The EXACT training method that helped me hit a 44 inch standing vertical jump
- A foolproof way to progress your plyometric training for FAST gains (most athletes skip progressions and it keeps them stuck)
- Overlooked plyometric training strategies that were GAME CHANGERS for me on my road to a 44-inch vertical…
And much more.
This advanced vertical series is FREE for now. Who knows when I’ll make people pay for it again. You can get inside by hitting the link below: